In this tutorial we'll learn how to make changes to the calender. If you're new to gnome-shell themes please refer the part1 and part2 of this tutorial series.
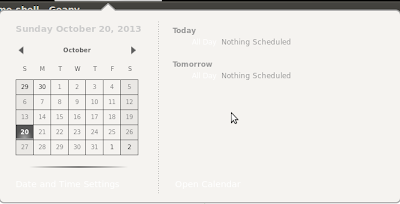
The default calender looks like:

Lets us start by changing the date heading color. So, first identify the following code in the theme file.
.datemenu-date-label {
padding: .4em 1.75em;
color: #cccccc;
font-weight: bold;
}
Change the color property to #8B6914.
Save the changes, press Alt+F2, type 'r' and hit enter to reload the theme.
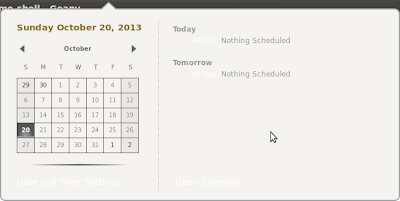
The date color will change as shown below.

Next, we highlight the current day in yellow. For this, look for following piece of code:
.calendar-today {
background-image: url("calendar-today.svg");
text-shadow: black 0px 2px 2px;
color: #ffffff;
font-weight: bold;
Change the color property to #FFFF00. Save the changes and reload the theme.
Now, lets do some more tweaks. The default theme has grid in the calander where each day is placed inside a small square box. We'll improve the asthetics by removing the small squares. For this look for the below code in the .css file:
.calendar-day {
border: 1px solid #333333;
color: #888888;
border-top-width: 0;
border-left-width: 0;
The property border border: 1px solid #333333 is will enclose each day in small squares. Remove this property and reload the theme. Now the calender will be as shown below.
